Monday, August 12, 2013

How Pinterest Saved My Life

Ok, ok, ok...Pinterest didn't save my life literally, but it did figuratively.

You see, a little more than a year ago, one of my long-time best friends, Nick called me and told me he wanted to propose to his girlfriend, Sonia, and he needed my help. Nick, Sonia, Travis and I hang out as a group on a regular basis, so this was super exciting news---and I love to plan stuff, so away we went.

At that point, I was in my 3rd trimester of pregnancy, so Nick and I came up with an idea for the 4 of us to go eat together and then go to a cupcake place where the two of them had first discussed the idea of getting married and sharing a life together. Nick was excited for the plan, so I told him that I would get it all together so she wouldn't suspect.

I called Sonia and told her that I really wanted the 4 of us to have a fun night out as a 'last-hurrah' of sorts before the baby was born. Sonia was all about it, so I asked her what she wanted to do. She offered to come down to where we live, but I insisted that I wanted to go somewhere in her area (we live 30 minutes apart), that we hadn't been to before. We settled on a restaurant that was about a 5 minute walk from the cupcake place where Nick was planning to propose. Sonia told Nick all about our idea and to continue to keep her from catching on, he even faked not wanting to go out that weekend. She 'convinced' him to go so off we went. As we were riding together to dinner, I started talking about how I had been craving cupcakes lately and was too lazy to make any, so I asked if everyone would be okay with going to the cupcake shop near the restaurant after dinner.

Everything went as planned and Nick pulled off a very successful and memorable proposal.


A couple of months later, Sonia asked me to be a bridesmaid to which I happily accepted. :)

There are three bridesmaids: Ruth (Maid of Honor), Sara (Nick's sister) and myself. Ruth lives out of state and told us early on she wouldn't be able to schedule time off from work to make the shower and the wedding, so Sara and I started figuring out plans for the shower a couple of months ago, right around the time my summer vacation started. Sara has been a busy bee this summer, including moving to a different city, working and school, and I was spending most of my days with Nathan and watching shows like Scandal and Orange is the New Black on Netflix, so I started pinning ideas and recipes on Pinterest for the shower that I was interested in doing.

First of all, Pinterest is pretty much the best thing ever for finding recipes and ideas for just about anything, but the downside is that there are SO MANY ideas it gets difficult to pick and choose because you start to feel like, "I NEED ALL THE THINGS!!!!"

We settled on doing a brunch-style shower so that it wouldn't be smack-dab in the middle of someone's day, which is great for the guests, but that doesn't leave much time for preparing the morning of! Sonia's mother offered her house as a venue which I immediately took her up on because her house is a middle-ground for where the guests live.

I told Sara that since she was busy, I just needed her to take care of the games and that I could do mostly everything else and if I needed her for something, I'd let her know. It took me forever, but at the last minute, (as in the day I went to the grocery store to get ingredients for the food) I planned a menu. I wanted to pick things that are crowd-pleasers, so I was definitely inclined to pick classic items.

-Deviled Eggs - A family recipe
-Fruit salad - Cantaloupe, strawberries, blueberries, honeydew melon & grapes
-Pigs-in-a-Blanket - Standard Lil' Smokies wrapped in crescent rolls
-Mini Cinnamon Rolls from Iowa Girl Eats. We added chocolate chips to some of them and it was yummy!
-Sausage Balls - Made by my best friend Kim; her family recipe
-Blueberry Scones from Tastebook that I made previously.
-Powdered Donuts (I bought Hostess...Nick loves them!)
-Bacon Wrapped Egg Muffins from Fat Girl Trapped in a Skinny Body. I found they turned out best when I baked the bacon in the oven until they were about half-way cooked. It was less greasy in the muffin pan.

I also thought about doing little pancake kabobs on hors d'oeuvres picks with a slice of strawberry and a blueberry, but I ended up cutting the idea at the last minute. Sonia's mother also ordered some pinwheel sandwiches as well.

I also decided to have apple juice, orange juice, champagne, water and a coffee bar for beverages.

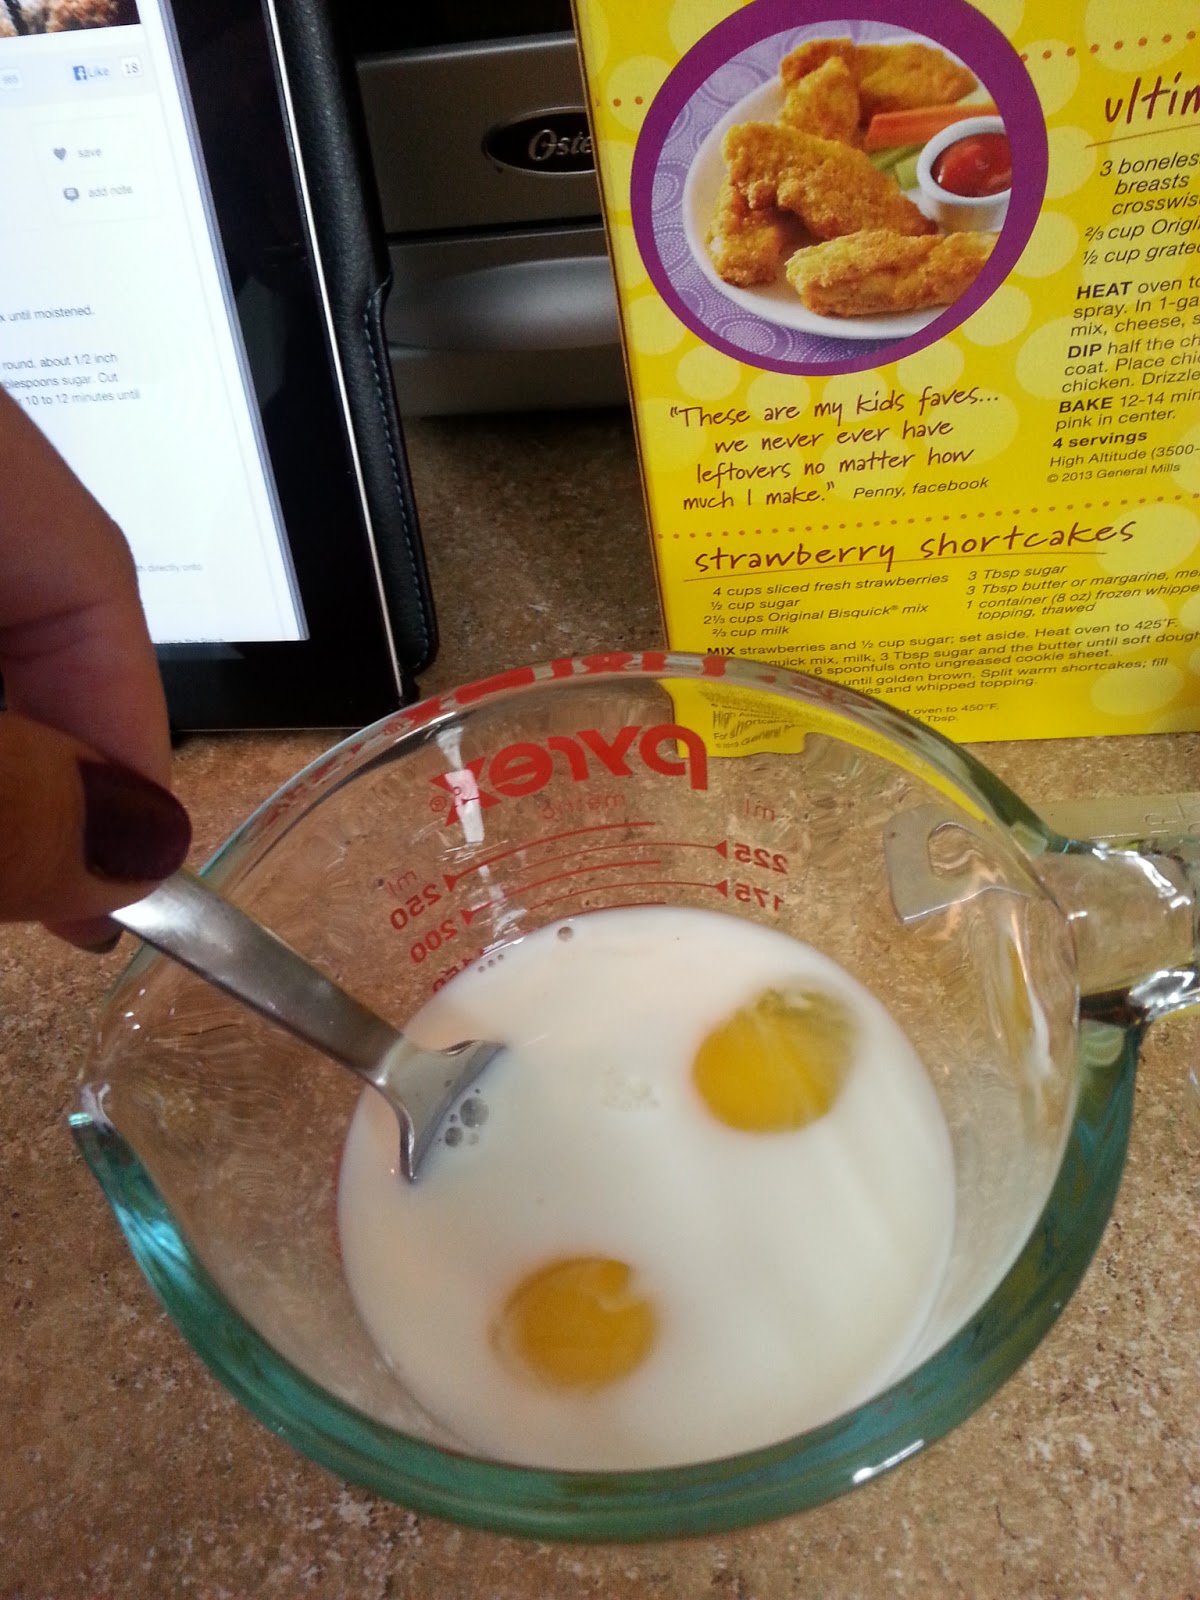
It took me a while to decide what to have for the cake option. I thought about a cake or cupcakes, and I liked the idea of cupcakes. You don't have to cut and serve them and they played a role in the engagement, so that's what I decided on. Feeling ambitious, I decided to see if I could make and decorate my own cupcakes.

I searched Pinterest for a cream cheese frosting and found one that was absolutely delicious at Anatomy of a Craft. It was really easy to make and so good it was hard to not just eat all of it directly out of the bowl. I grabbed a box of Pillsbury Strawberry cake mix at the Cupcake Decorator Kit by Wilton and got to work. I realized I didn't have the first clue as to how to get the perfect swirl of icing on a cupcake, so I went to Pinterest again where I found an excellent tutorial at Glorious Treats. She even gives an excellent tip on filling your bag with the icing which definitely helped because I've never been able to do that so easily. The final addition to the cupcake was to add a few pale pink pearl sprinkles and voila! They were exactly as I had envisioned and were absolutely delicious.

I entertained the idea of making the cupcakes from scratch, but after giving several people samples, they said they were delicious and suggested I just go with the boxed mix...so I did (the horror!).


With so many things going the right way, I had to focus on decorations. Sonia's engagement ring is a pearl and she LOVES pearls, so I felt like having a really girly shower with pink, pearls and lace would be idyllic. I talked it over with Sara and Sonia and they both loved the idea, so it was time to find ideas to incorporate those elements. On a shopping trip to TJ Maxx and Ross in search of serving dishes for the shower, I found a few picture frames and a candlestick that I knew would go nicely. I wanted to feature some of their engagement photos (which I had the pleasure of taking!), so I picked frames that would compliment the decor of the shower as well as Nick and Sonia's apartment. 


I decided to put the pictures in the entry way of the shower so everyone could see as they signed in. I also had a guestbook made at Walgreens with their favorite engagement pictures and turned it into a guestbook for the shower and for the wedding if they choose. I borrowed the beautiful tablecloth from Travis' grandmother to help tie everything together.

Thanks to Pinterest, I found Shanty-2-Chic, where she shares a template for the whole alphabet, numbers and extra symbols and patterns to print your own banner. Each file loads as a .pdf and they print with the outline of the triangle for you to cut out so they're the same size. It was super easy to do and mine turned out beautifully if I do say so myself!


With the help of a friend, I found directions she had found on Pinterest for how to make tissue paper pomanders at Imperfectly Beautiful. Each one took me about 15 minutes and as you can see, they were a nice pop of color. I definitely plan to make these for Nathan's birthday party next month.

A project I was really excited to do, and one of the first I found was a pearl monogram of the brides' future last name. It's from Martha Stewart's website (of course I found it on Pinterest) and was relatively easy to make. Mine didn't look as pretty as Martha's (shocker, I know), but Sonia really liked it. It won't hang flat against the wall, but doesn't look too bad suspended, so we used it over the dessert table. Maybe it would have been better if I was better at crafting with wire, but alas, I am not.


My final craft was inspired by a Pinterest post that I can't find the origin for but still wanted to do something similar. I wish I would have gotten more detailed pictures of how mine turned out because I was very happy with it, but I got plain wooden letters from Hobby Lobby, painted them pink, added white polka dots and then hot glued them to a white ribbon. I loved how it turned out!


Here a few pictures of the table spread:


The beautiful lace on the table is the mantilla that Sonia wore at her quinceƱera. It was the perfect touch!


I found the banner on Oriental Trading.
The bottles on the right are different flavors of creamer in bottles from IKEA.

I didn't get a pictures of the mini-cinnamon rolls, but they were delicious! Everyone was raving about the food and I admit I was very proud to say that all but 2 items served were homemade (the pinwheels and the powdered donuts).

I don't know if this shower would have been nearly as successful (or creative!) without Pinterest. WHAT DID WE DO BEFORE PINTEREST?! Cookbooks? How archaic! ;)

My mom and husband were incredibly helpful the night before, staying up very late to help me get everything finished and I cannot thank them enough for helping make the shower perfect. Sara did an excellent job with putting a little game together that was easy for the guests and had adorable prizes! I can't believe I didn't snap a picture of them!

When I started planning this shower, I of course wanted to give two of my best friends the perfect shower and I can honestly say it was perfect. Everything came out exactly as I wanted it to. The food was delicious, thanks to Sara and the mothers of Nick and Sonia the house looked beautiful (they helped me decorate the night before.

Giving this shower for Nick and Sonia was so exciting for me. I have known Sonia since I was about 5, though we weren't really more than acquaintances until after she and Nick started dating a few years ago. Nick has been one of my close friends since high school. I am so happy for them both and it was so fun to put this together! :)


Friday, July 12, 2013

This Crib is BUMPIN!

So in my post yesterday, I mentioned that I found evidence of Nathan chewing/gnawing on the railing of his crib the other day.

All of those little white marks are the damage so far.
Wanting to nip this problem in the bud, I got materials to make a rail bumper to compliment the one we have that goes with his crib set.

His current rail bumper is precious, but too big for the side where we have the problem.
My plan was to just steal the basic design, which is a large padded rectangle with Velcro on the inside, so when you fold it over the rail, it sticks to itself. Easier than ties, if you ask me!

I got started having no idea how it was going to turn out. It's not like I had a pattern, but it's not like the concept was difficult either.

The fabrics I chose compliment the crib set, but aren't exact, but I liked the way it looked with the original stuff. I also grabbed a high loft batting.
I bought new fabric scissors because someone (my husband) used my old ones at some point and then I just kind of wrote them off as being regular scissors, so for this project I wanted new ones. I also decided to give a rotary cutter a whirl for the basic reason that it looks really fantastic when I'm watching Project Runway and they're slicing fabric effortlessly while I am struggling to make a straight cut with my janky scissors.

Let's talk about that rotary cutter and how it is the best tool for someone to sew with. Well, there's not much more to say than it's a great tool and anyone who sews regularly should get one. I used a 50% off coupon I got from the Joann's website and was able to get mine for $12.50 instead of $25. I also wanted a good straight edge and cutting mat so I bought those too.

My sewing in the past has mostly been pretty unadventurous, so I didn't have those items.

I bought 2 yards of the solid color fabric (45" wide) and 1 of the polka dot (45" wide) and then 1 yard of the batting, which was SUPER (90") wide, but it was all I could find in the high loft by-the-yard option. I'm sure I'll find a use for that leftover batting eventually.

I measured the rail I was planning to cover and also measured the existing rail bumper so they would be the same width.

The measurements I used were 29" x 17" for the rectangle. That provided a 2" seam allowance on the long side (I needed it to be 25" by 15") and a 1" seam allowance on the short side. I chose huge seam allowances because having no idea how this project may go, I just felt safe having the extra fabric. It ended up being completely unnecessary, but that's ok.

So I made my giant rectangle, and without thinking, left a long side open. I should have done a short side open, just because it would have been easier, but it worked out fine.

Knowing that I was going to put trim on the edge, I sewed it shut the easiest way since nobody would see that edge. Work smarter, not harder, yo.


Next is the trim. I picked the width based on a little mistake I made trimming the seam allowance off. I got carried away trimming the fastest way with the rotary cutter (I may have been a little over-eager to use it!) and trimmed off part of the seam. Thankfully it was on the ugly edge, so I ended up making wider trim to cover my mistake.

I cut a strip of 8"-ish wide fabric and pinned the edges back. I  just picked a width. I did NOT sew these down until I was actually attaching it to the rectangle because I didn't want the extra line, or the pressure of sewing it exactly on top of a seam.


 I did sew down the short side to keep the edges from getting weird.


I originally cut the strip when the fabric was doubled over, then cut that piece in half so I would only have to make the long cut once. After I got the strips pinned, I pinned them onto the rectangle.


Then I cut another strip of the trim to run across the long side. I wasn't sure if I was going to to both long sides or just one (since one side is on the inside of the crib) and I repeated the process of pinning and attaching to the rectangle.

When attaching the rectangle, I knew I wanted it to be mitered, so I looked up how to miter, and I was too ADD to watch videos and read several different sets of instructions to make sense of it all, so I just made it up as I went.

The next pictures show how I did my own take on a mitered edge (ha!)


It only looks pretty from the front. The back...not so much.


See? It's not pretty on the back side (above) but it works. The front corners aren't sewn down, but on the back side, I did a hand-stitch that makes Dr. Frankenstein look like a skilled tailor. The truth is I didn't care about how the back looked because it's going to be folded so nobody will see it. I doubt that the Queen of England or Martha Stewart is going to come over and demand that they see the inside of this rail bumper, you know? So I didn't waste my time making it pretty.

Then I sewed the trim down. I ended up only doing the trim on one side. It wasn't important enough to me to cut and pin another piece of the trim. (Those faux-mitered corners were a trial and error success the first time, I didn't think I'd be as lucky the second time).

Ok, so it's not perfect, but I figured if it was awful, I'd make another.
 The next step was getting the Velcro on. The bumper we already have has a long strip across the bottom and a few going perpendicular to the long strip, but I felt like I didn't need the short strips. If I felt I needed them, I could always go back.

Again, working smarter, not harder. I didn't want to take time to do extra work that wasn't necessary!

Did you know they make IRON-ON Velcro? I didn't until yesterday!
 I stuck the strips of Velcro together, trimmed them to the right length and stuck them to the fabric ready to iron them on.
Pardon my busted nails. I painted them yesterday on a whim and they weren't dry when Nathan wanted my attention.
I ironed the Velcro on with the bumper folded over and just flipped it to get both sides done. The only downside was that I wasn't thinking and the iron melted the batting on the inside, but I didn't care. It's just not as fluffy as the top portion.

As soon as I got the Velcro finished, I put it on to see if I was happy with it!

I'm very happy with it! When it's on, you can't really see the flaws, thank goodness!
So I brought Nathan in to break it in!

The bumpers don't match, but the colors in the bumper I made are in his room and in the comforter.
It didn't take him long to go for his favorite spot. That's directly on top of the part of the crib where he left marks.

Mom...this is different.

I decided not to make one for the other side because he NEVER stands there, and if he starts to, then I'll make one, but he actually loves his mobile and that's in the way and...I'm just not wasting that energy!

Once I had it figured out, it wasn't too hard to do. I know it would take me half the time to make another if I needed to. I'm feeling like Martha again, y'all. ;)

I would like to thank my sweet husband who watched Nathan pretty much all day by himself while I worked on this project. You are appreciated! <3


Thursday, July 11, 2013

I feel like freakin' Martha Stewart.

Sometimes, I think, "Ok, I can be domestic. I know how to cook (kind of), I can clean (when I feel like it) and I can take care of my child. Sure, no problem.

Then Nathan starts getting into everything and I'm like, "Oh, yeah...about that huge pile of dishes in the sink...I guess they'll wait."

See, I regularly praise mothers in my head that seem to make all of these things possible. If it weren't for my husband, I have no idea how I'd manage to keep our home even remotely manageable, keep the baby happy and have time to wash my hair.

Single parents everywhere, kudos to you. You, my friend, are a rockstar.

So today, I felt like Martha Stewart a little bit. I haven't yet read The Tao of Martha by my favorite author, Jen Lancaster, but I'm sure that's what she felt like when accomplishing little projects.

I need to read this immediately. I love everything Jen writes!
You see, yesterday, I was in Nathan's room and noticed a white spot on the railing of his crib that faces the bedroom door, so I took a closer look and discovered that he has been chewing/gnawing on it in the mornings when he's waiting for me to come get him.

We already have a padded-velcro bumper to put on the long side of the crib to protect it from his teeth, but not for the side, so I was like, "HEY. I CAN SEW! I'LL JUST MAKE ONE!"

Really, it isn't difficult to put together, so I know I can do it. Today, my mom, Nathan and I made a trip to Joann's to find fabric and then stopped for lunch on the way back. The plan was for my mom to come over and help keep Nathan entertained while I started my project, but she got called into work, so that didn't happen. But what would Martha do in that moment? She'd find a new project to embark upon that isn't quite as consuming so she can tend to the wee one, yes?

Nathan was in a pretty good mood when we got home, so I decided to start the blueberry scone recipe I mentioned in my post yesterday. It seemed easy, and it would allow me to stop and tend to Nathan as needed, so I got started.

Recipe:

3 cups Bisquick
2 tbsp sugar (I personally suggest doubling that. Keep reading for my explanation)
1 cup frozen or fresh blueberries
2 eggs
1/4 milk

Glaze topping:
1 egg (beaten)
2 tbsp sugar

Preheat the oven to 400.

The first step is to mix the Bisquick and the 2tbsp of sugar together, then add the blueberries and stir.

After eating these scones, I actually think you could double the sugar. My sister-in-law and I also discussed adding a little vanilla or even cinnamon to give extra flavor. I'm trying that next time.


Next, in a separate bowl (or if you're lazy like me, in the measuring cup, add 2 eggs to your milk and beat them.

Add the milk/egg mixture to your mixing bowl of other yummies and mix it up until it a crumbly dough. This is the part where I didn't really know what just how 'crumbly' is the right amount of crumbly. I didn't want to smash the blueberries, and the dough gets thick quickly, but just mix it until the Bisquick is moistened and most of it is kind of together.


And this is the point when Nathan started fussing. Then I remembered that he didn't get a full lunch when we went to lunch earlier and that he was probably hungry, so being the excellent mother I am, I propped him up with pillows, gave him his bottle and put Baby McDonald on the TV. I'm sure even Martha had do resort to this at times. Or she hired a nanny. Judge away, super-moms. My kid is happy.

He even has his own remote! He was actually shockingly happy there!

This is the point in the recipe where I stopped and read the directions about a million times and I'm still not sure I'm right, but they were good, so I don't care. This time, instead of channeling Martha and doing everything by the instructions, I channeled my talented (and brave!) sister-in-law, The Hazzardous Housewife and decided to make my own instructions.

It says in the directions to, "Turn the dough onto a lightly floured work surface and pat into a 9" round, about 1/2" thick pan."

Well, I don't know what "turn" in baking-land means, but I took that as dump it out onto your floured surface. I didn't want to put it on the counter, so I floured a cookie sheet.

Now, by "pat into a 9" round, about 1/2" thick pan" I'm thinking it should go INTO a pan. Like, a cake pan, but then a I read ahead and it talks about laying it onto an ungreased cookie sheet.

Then I was really confused. So they want me to put this dough into a round pan and dirty it just so I can throw it onto a cookie sheet? That's ridiculous.

What I think they mean is pat it to that size, so that's what I did, as seen below.

Look at that round dough. I'm talented and I don't need pans.
AIN'T NOBODY GOT TIME FO' DAT!

Up next is the glaze. Take an egg and beat it thoroughly. Then get a little brush (or I'm assuming your fingers would work fine, assuming they're clean and you don't mind the raw egg all over your hands) and brush (or rub) the egg all over the top of the dough.
Raw eggs always make me think of Gaston from Beauty and the Beast.
"When I was a lad I ate 4 dozen eggs every morning to help me get large..."

Brush mode.

Ta-da!
 Once you've got it covered in the egg (which you won't likely use the entire egg, unless you're making it egg-stra eggalicious), you're going to use 2 tbsp of sugar and sprinkle the top.

This is where I decided to break away from Martha and channel Alissa (or Rachael Ray since she doesn't measure) and I was like, "Pffft...just 2 tbsp? WHATEVA, I'LL DO WHAT I WANT!"

So I just grabbed some sugar and sprinkled it. It was probably wasn't much more than 2 tbsp. I mean, I'm not trying to get diabetes or anything.

The next instruction is to cut it. I know, cut it before you cook? But yes. The dough is thick enough to keep the cuts, and I think it's because the scones are crumbly after they're cooked, so this gives a clean cut. It said to do it in 12 slices, but I missed that and did 8. My pieces were huge, so go ahead and be a Martha on that one, unless you REALLY like scones.


Bake at 400 for 10-12 minutes or until golden brown. It took mine about 16 minutes. After about 2 minutes in the oven, the whole house smelled soooooo good.
I broke the rules and it still looked yummy!

The next instruction was to serve it immediately with butter or jam, but I was taking it to my in-law's house, and I'm testing the recipe for a bridal shower, so was also curious to see if it was tasty cool, so I looked in my cabinet to see if I had something cuter than a cookie sheet to transport it in that wasn't my huge cake platter with a lid. Then I found this 9"-ish dish that was given to me a few months ago as a hand-me-down and I was like, "OMG, it'll fit perfectly!!! Yay!!!" and then I attempted a smooth transfer...and better yet, I succeeded the transfer flawlessly thanks to a fish spatula and a really wide spatula I bought at IKEA many years ago. I felt like Martha Stewart, Jen Lancaster and Alissa were all sending me happy good luck vibes at that moment because the scones fit perfectly in that dish and it looked and smelled amazing.


Everyone enjoyed the scones and I must say, they were pretty tasty. I will definitely be serving them at the shower I'm hosting next month. I think I'll try to form the dough into a square and cut the pieces into squares since that's a nice finger-friendly option.

After the scones, I threw together a salad and a batch of green bean casserole to take to dinner as well and managed to make it to my in-laws' house with my husband and child on time.

The domestic gods are on my side today in the world of cooking and childcare. Now if they'll add housework into the mix, I'll be all set...though maybe they should also give me some blessings in regard to sewing tomorrow. We'll see if I post about my success or failure.


Wednesday, July 10, 2013

It's a Pinterestin' Summer!

**now updated with links!**

Friends, summer is here and my summer has officially begun!

School let out a week later than usual this year, which is fine, because we'll start a week later, but it already makes me feel like the summer is practically over already, which it isn't...ish.

The week after school let out, I was asked to lead the Bible Study rotation at our church's VBS, which I  admit I really didn't want to do at first, because I was so exhausted from school, but I knew it was the right thing to do. I will also tell you that I am so glad that I did it. While it was a busy week of dealing with kids that are much younger than I am used to, I was partnered with a very sweet lady who happens to be a librarian at one of our elementary schools, and watching her with the kids really motivated me and reminded me that I do, in fact, know how to handle younger children. It was a great week and it was neat to see aged working in me as He worked in the lives of those children. :)

The next two weeks weren't quite as fulfilling. I mean, they weren't awful, but they weren't my favorite. Every year we host a children's theatre camp at work for kids in the area and the camp serves as a fundraiser. Considering I work with another theatre teacher who works incredibly hard ad is so considerate of my time as a parent, she really did all of the hard work, so it could have been much more demanding, but I did find myself wishing I was at home with Nathan or getting things done. I probably wouldn't feel as resentful if we actually got paid for these two weeks, but we don't. Local readers, feel free to write a letter to the school board about that. ;) After the two weeks were over, I was like, ready to fly out the door and never return. Surprise.

Since my summer has actually started, I have enjoyed having time and energy to actually do things again. I have managed to cook more than just Hamburger Helper and our other usual go-to meals. All of the recipes I have used so far have been Pinterest recipes, and ok...I say "all" as if the last almost two weeks have been boing but home-cooked meals and that's not the case. I mean 3. Ok, 3 recipes. Not meals. Well, two meals and a dessert.

Sigh.

I really do feel excited about what I've done with them so far though! I would post the links and be somewhat helpful, but I'm blogging from my iPad at the moment and I don't know how to do that...but I'll edit the post later. I just have the time right now to post and I wanted to, so...yeah!

Last week, I invited my family over for dinner. We don't all get to be together often because of schedules, and everyone was there this time except for my older brother and my brother in law, but I wanted to have the family over. I decided on a whim to get adventurous in my cooking (which rarely happens), and I opted for a Citrus & Herb Roasted Chicken that I had just pinned. It intrigued me because it looked delicious in the picture, it mostly had in-house ingredients (assuming you make regular trips to the grocery store and usually have the staples in your refrigerator), the author of the recipe said it was cheap to make, and it didn't have a long prep/cook time. I ran to the grocery store, because lately, Travis and I can't seem to find the time to go to the store together and make a real trip. I of course had to buy some new herbs because the ones I have had in our spice rack for nearly four years that the recipe called for we're looking a little too aged. I essentially spent a billion dollars at the grocery store, but it really was because I didn't have a good spice stash.

It was one of the prettiest meals I have ever made, and it really was a light, summery choice. If you're not already following me on Pinterest, you should so that you can check out this recipe. I apologize in advance for how I lack hyper-organization on my Pinterest. I just have a recipe board, not a breakfast board, a lunch board, etc. I don't have the time, energy or desire to get that reorganized. Sorry.

Today I was feeling lazy but knew I didn't want to eat out, so I prepared a recipe (Crockpot Lasagna) that my sister in law, aka The Hazzardous Houswife (check out her blog!) made for us a few weeks ago. She is a bonafide Pinterester and is always tackling a new Pinterest project. You should seriously follower her if you don't already because she motivates you to try a new project every now and then. Anyway, I made that tonight and it was really good. It wasn't as good as Alissa's was because my choice of sauce, since I was lazy and just did the Ragu, but I'm going to steal her personal spaghetti sauce recipe next time. Again, you can follow her for that recipe (she even has her blog organized where you can look just at her recipes!) or you can search through my Pinterest, or probably just search crock pot lasagna. 

Then, my whole reason for being motivated for this post was the brownies I made tonight. Lets talk about me for a minute.

A. I am a chocoholic. I love chocolate more than most things.

B. I seldom make desserts from scratch, with the exception of my cheesecake which is always from scratch. I mean, a few weeks ago, I jokingly asked my BFF to come over and make homemade cookies because I wanted some without the work and took her up on her offer when she shocked me and agreed to make them for me.

C. I, as stated before, am rarely adventurous in my cooking, hence point B mentioned above.

So I found these brownies on Pinterest that just looked so good, with their huge chunks of chocolate and great photography. I read the recipe and noticed that I literally had all of the ingredients chillin' like a bunch of villains (seriously, so many calories) in my pantry, so I decided to go for it and make actual brownies from scratch, which I have never, ever done before,

They were soooooooo delicious. I ate them while the chocolate chunks were still all melty and gooey, and every calorie gained was worth it ten times over. I figure as many times as I chased Nathan around today, I earned those calories. 

That recipe is also on my Pinterest, posted under my recipes but also on the creatively named board. "Stuff I've Made." Actually the chicken one is there and I'll put the lasagna one there too. That's a much smaller board on my Pinterest because I pretty much neglected my Pinterest for the last year until now. 

On a non-recipe note, because I'm starting to feel like I have Ian unhealthy relationship with food since I've dedicated a very long and picture-less post about food, I also made a tissue paper pomander today thanks to instructions on Pinterest which was shown to me by my friend Jenica. She is the cousin to my BFF that makes me cookies and in the many years of our friendship, I've made numerous trips with her to go visit her family in east Texas. On my last trip with her, we were going up to celebrate Jenica's son's first birthday and she had these fabulous poms everywhere and talked about how easy they were to make. I made a mental note about them because at that time, I was just finishing up the first trimester of my pregnancy with Nathan. Well, now I'm in the midst of planning Nathan's first birthday party and wanted to be a copycat so I asked Jenica to link me to the instructions for the poms and was able to do a test run of one today. It was so easy and quick, and I've warned Travis that he will likely be assigned the task of making those with me because its THAT easy...and friends, Travis isn't exactly crafty. He's like a kindergarten student when it comes to crafts. I'm sure he could rock out a handprint project like a turkey or something though. ;)

Yeah, I would share a picture with you, but um, iPad blogging is making that too hard. Dudes, this is the most boring post ever. 

I'm also currently planning a bridal shower for one of my other BFFs, and I have a ton of recipes I want to use, but I want to do test runs of them first, so to tomorrow I'm starting that endeavor and I'm going to try a recipe for blueberry scones that claims to be super easy. I guess we'll see, and I'll try to be better about taking pictures so my next post about food is t so boring,

Thank you for making it is at if you haven't already given up hope of this ever ending!

[insert my fancy J signature photo because iPad blogger won't let me access it]


Friday, June 14, 2013

Car Seat Safety 101

My topic this evening is something that I have really been thinking about a lot lately because people on Facebook and Instagram like myself have nothing better to do than to post pictures of their babies (I'm definitely not complaining!) but I keep noticing something...and that's car seat safety.

Guys, car seat safety is seriously not something that I take lightly. I mean...it's your child, who can't fix the car seat themselves, so YOU need to be their advocate, do the research, get it installed properly and hook them up correctly.

Now, I know that I am no expert on this, and I haven't done hours and hours of research on this topic, but I did read our car seat manual, our birthing class did a whole section on this topic, and we've done additional research online about this as well.

What am I talking about, you ask?

This.


Both of the harnesses in these car seats are too low on the baby. According to Safecar.gov as well as the manuals that come with your car seat, the chest clip on the harness should be placed even with the baby's armpits, which protects the baby's sternum.

Nathan after having a nurse inspect proper car seat harnessing, etc, the day we left the hospital.
(Mom and Dad got an A+!)

Also, the harness should be snug against the baby as well. I regularly see people posting pictures of their baby in their car seat with pictures like the ones above where you can see that the chest clip is too low. I've even seen pictures where the shoulder straps are so loose that it's not over the baby's shoulder, but has drooped down to the baby's arm.

Choosing not to strap your baby into their car seat correctly isn't like choosing to forgo strapping the baby into a high chair or grocery cart. Please, please reread your manual and make sure that you're strapping your children into their car seat correctly. Also, your local police department and fire department have training on the proper way to install a car seat and base if you have one. They will be happy to inspect yours to make sure that your child is as safe as possible. It only takes a few minutes to do, and I feel like that's a few minutes worth spending.

I know this seems off the wall, but I'm hoping that this post may have some people give this topic a second thought and make sure they're doing the safest thing possible for the precious baby! :)